For those looking to add a bit of color, style, and personal flair to their hair, tape-in hair extensions are an outstanding option. With plenty of durability and versatility, the possibilities with tape-in hair extensions are nearly endless. At the same time, it might be necessary to replace the tabs in tape-in hair extensions from time to time.
Replacing the tape tabs can provide the hair extensions with some extra hold. In order to replace the tabs that come with tape-in hair extensions, there are a few easy steps that should be followed.
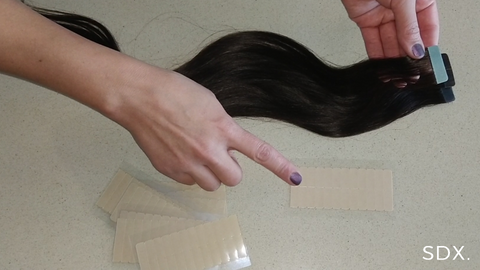
Step 1: First, grab a single tab from your SDXHair tape-in hair extension.
Step 2: Next, while looking at the tab, there should be a conspicuous piece of blue tape. Remove this blue tape. Once the tape has been removed, the tab should look completely clean.
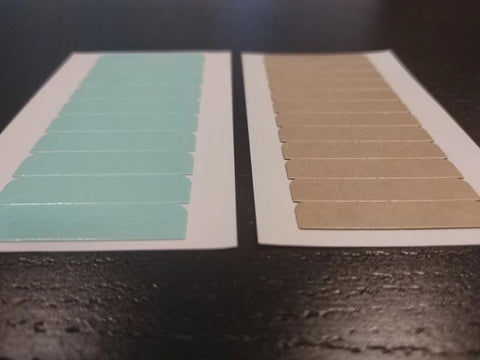
Step 3: After, once the tape has been removed, grab a sheet of SDXHair's super hold tape. This is a powerful adhesive that will provide the tape-in hair extensions with a stronger grip.
Step 4: On the SDX super hold tape, there should be a tan-colored liner. Take off the liner and lave the tape tab attached to the transparent sheet.
Step 5: Next, tape the SDXHair tape-in hair extensions and stick to the SDXHair super hold tape. Prior to sticking down the surfaces, make sure they are lined up as evenly as possible. The more aligned they are, the better the grip is going to be.
Step 6: Finally, carefully peel off the new SDXHair tape-in hair extension from the transparent sheet. The tape-in hair extensions are now ready to be applied directly to the surface of the hair.

Once this process has been completed, it is important to take care of the tape-in hair extensions. For care and maintenance instructions, head over to the SDXHair care page. With proper care, SDXHair's tape-in hair extensions can last up to 12 weeks.


